filming in low light: 5 camera tips & tricks
 Jordy Vandeput
37K views

Low light solutions to reduce the noise and grain in your footage. Learn how to use your camera and the light sources available in the scene.
Shooting in low light situations can be tricky, the lack of light in a scene can determine much of your footage. This tutorial video explains how to use light in your surroundings and the camera placement towards it.
Of course you have the basics of filming in low light, like filming with a wide aperture to let in more light. Increasing the ISO is another option to brighten up your image, but has the risk of adding grain to your shot. These settings are different for every camera model, so there is no golden number for a maximum ISO. There is also the option to buy new lenses with an even larger aperture size, but this could get expensive. All these tips can be found in most articles about low light, where they are explained more extensive.
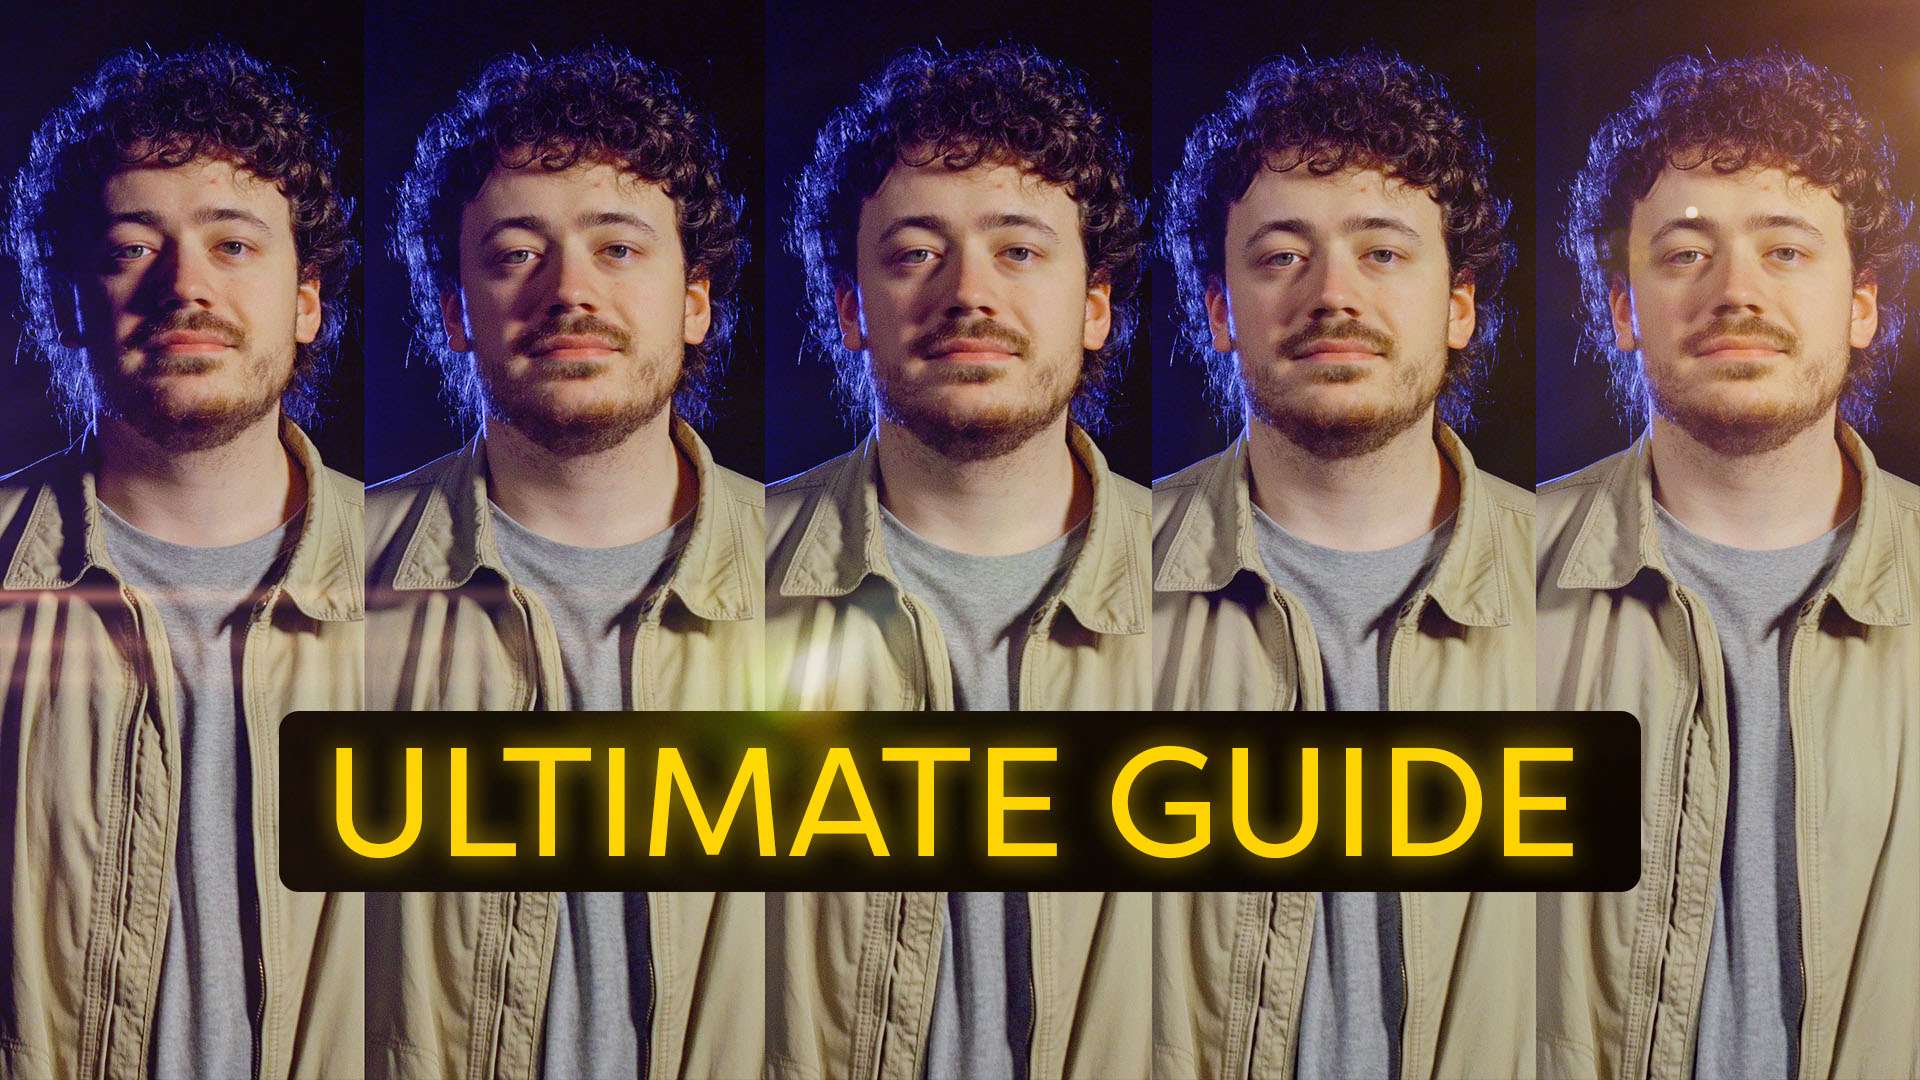
But for our tutorial we looked at it from another perspective. Form our experience we saw that being creative with the available light can give beautiful creative low light images. If you are filming in a dark place, like an event for an after movie. Keep the image dark and don't flatten it by lighting it head on. If the surrounding is dark, subject is also meant to be dark.
Then you have the option that everyone seems to forget or is afraid to touch: the shutter speed. When filming at 25 frames/second it's normal to take 1/50 shutter speed. But if you lower your speed you'll also increase the light registered by your camera. If you do this you have to keep in mind that by lowering your speed you are also increasing the motion blur in your image. So be aware of the movement in your shot if you want to decrease the shutter.
Considering you're not filming on the dark side of the moon, there will always be a light source available. Try to use it to it's maximum and build your scene around it.
VideoBlocks
This video was supported by Videoblocks, an easy to use site full of stock footage. Perfect for finding pictures, videos or templates, like the one we used in the ad.
Choose the next tutorial
You can choose which tutorial we should make next by voting or suggesting a new idea. Go to the vote page!
Jordy Vandeput
Founder of Cinecom · 2.75M+ subscribers on YouTube
Jordy Vandeput is a Belgian filmmaker who has taught practical filmmaking to millions through Cinecom. He breaks professional techniques down into clear, repeatable steps you can use on your very next project.




0 comments