How to shoot manual on a DSLR: ISO, Shutter speed and Aperture explained
 Jordy Vandeput
59K views
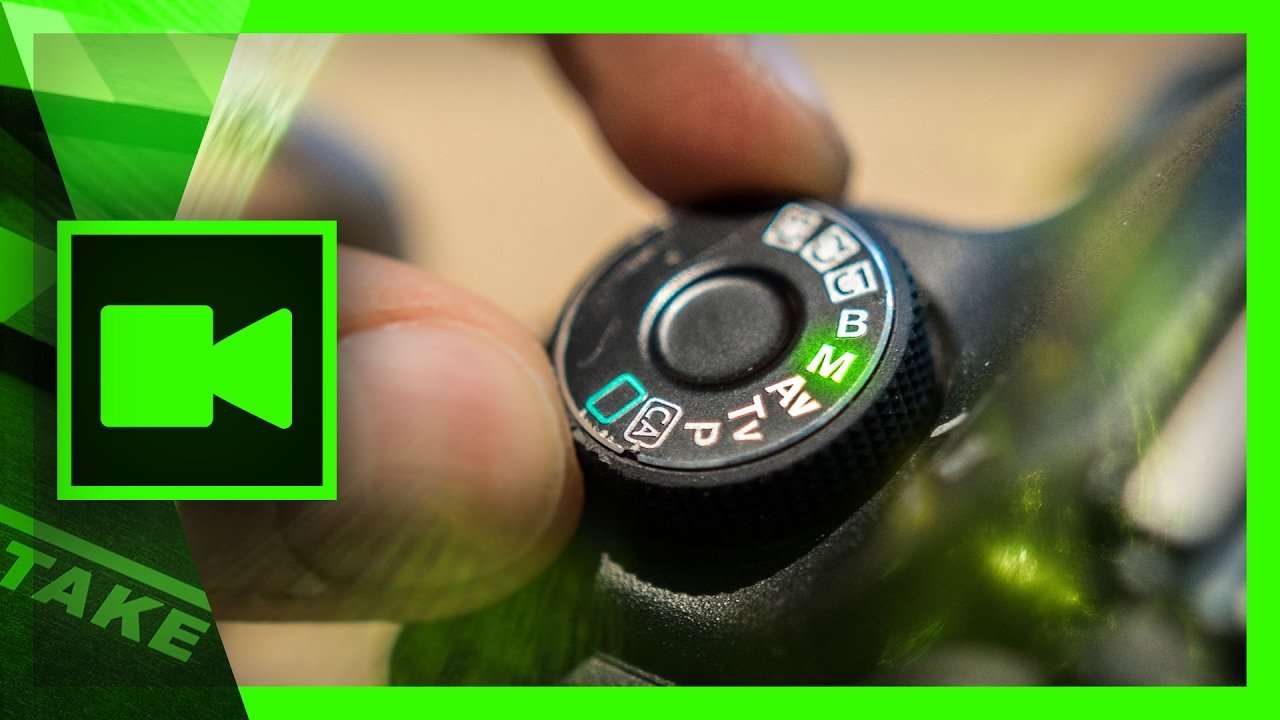
Learn how to use the ISO (gain), shutter speed and aperture to control the exposure of your DSLR camera and shoot in manual mode.
Remember picking up your first camera? I bet you where shooting with it in automatic mode. This means, you only need to pay attention to the framing of your shots and making sure you've hit that record button. So why bother putting that dial on full manual control then?
There are mainly three parameters that control the exposure (amount of captured light) ; the ISO (or gain), shutter speed and aperture. Each of these options also come with a side effect that has a visual influence on the captured video. That's the first reason why it's so important to know what they do and how it works. This is all shown in the video tutorial though.
A second reason you should take manual control over your DSLR camera is the pumping effect. Lets say you're filming a road on a bright day and your camera has exposed on that. Suddenly a black car passes by, making your shot a bit darker in general. The automatic feature of your camera will let more light come in on that point. But in reality, it shouldn't have.
ISO or Gain
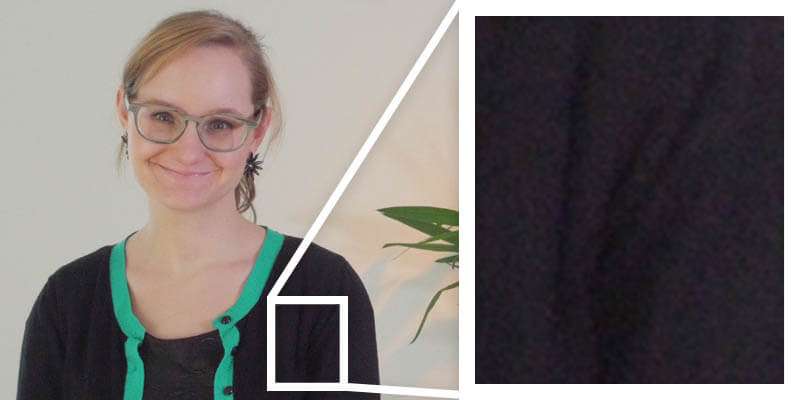
A low ISO setting exposes your shots less, but will give a cleaner image. Higher ISO settings tend to cast digital noise (typically in the black area's).
Shutter Speed

The shutter speed is the refresh rate of your camera. The slower the shutter speed, the more light is captured but also the higher the motion blur (like the image above). A too fat shutter speed results in having too sharp images. When shooting at 25 frames per second it's advised to keep your shutter speed at 1/50th of a second to have natural motion blur.
Aperture
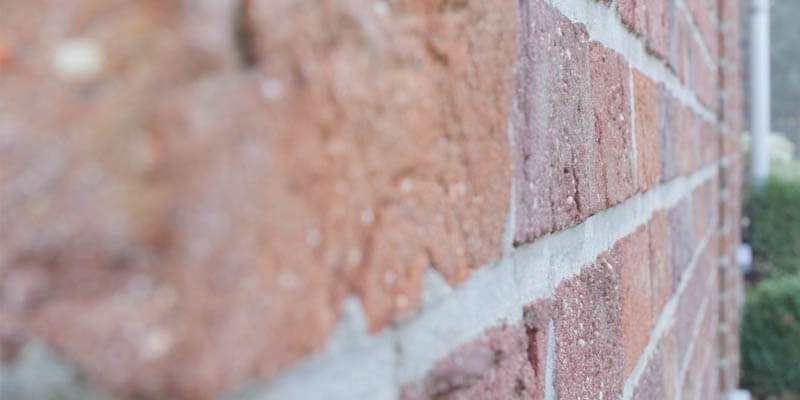
The Aperture is a control on your lens. It will fiscally let more or less light in. The side effect is the area that is sharp. We talk about a (shallow) depth of field. The more open, the more light comes in and the more out of focus your background is (considered more cinematic). The closer your aperture is, the less light is captured, but the more your background will be sharp too.
Conclusion
Setting your exposure should be a constant value for each shot. Unless you're walking from outside to inside, or any other extreme situation. Each shot or scene also has a different action, which is the reason we should take advantages of the side effects of the ISO, shutter speed and aperture.
VideoBlocks
This video was supported by Videoblocks, an easy to use site full of stock footage, vector images, stock photos, music, sound effects and more.
Jordy Vandeput
Founder of Cinecom · 2.75M+ subscribers on YouTube
Jordy Vandeput is a Belgian filmmaker who has taught practical filmmaking to millions through Cinecom. He breaks professional techniques down into clear, repeatable steps you can use on your very next project.






1 comment
Thank you for giving this review on this wonderful blog site. i'll reveal this information on my small myspace account for my pals