Skip to content

Editors run on coffee and cookies.

Ours are the stats, ads and better-emails kind. Sorry, no chocolate chips. Privacy policy

Statistics

Google Analytics counts visits and sales.

Advertising

Google may use your visits for ads.

Personalised emails

Our emails follow what you look at here.

The Art of Landscape Photography for Beginners

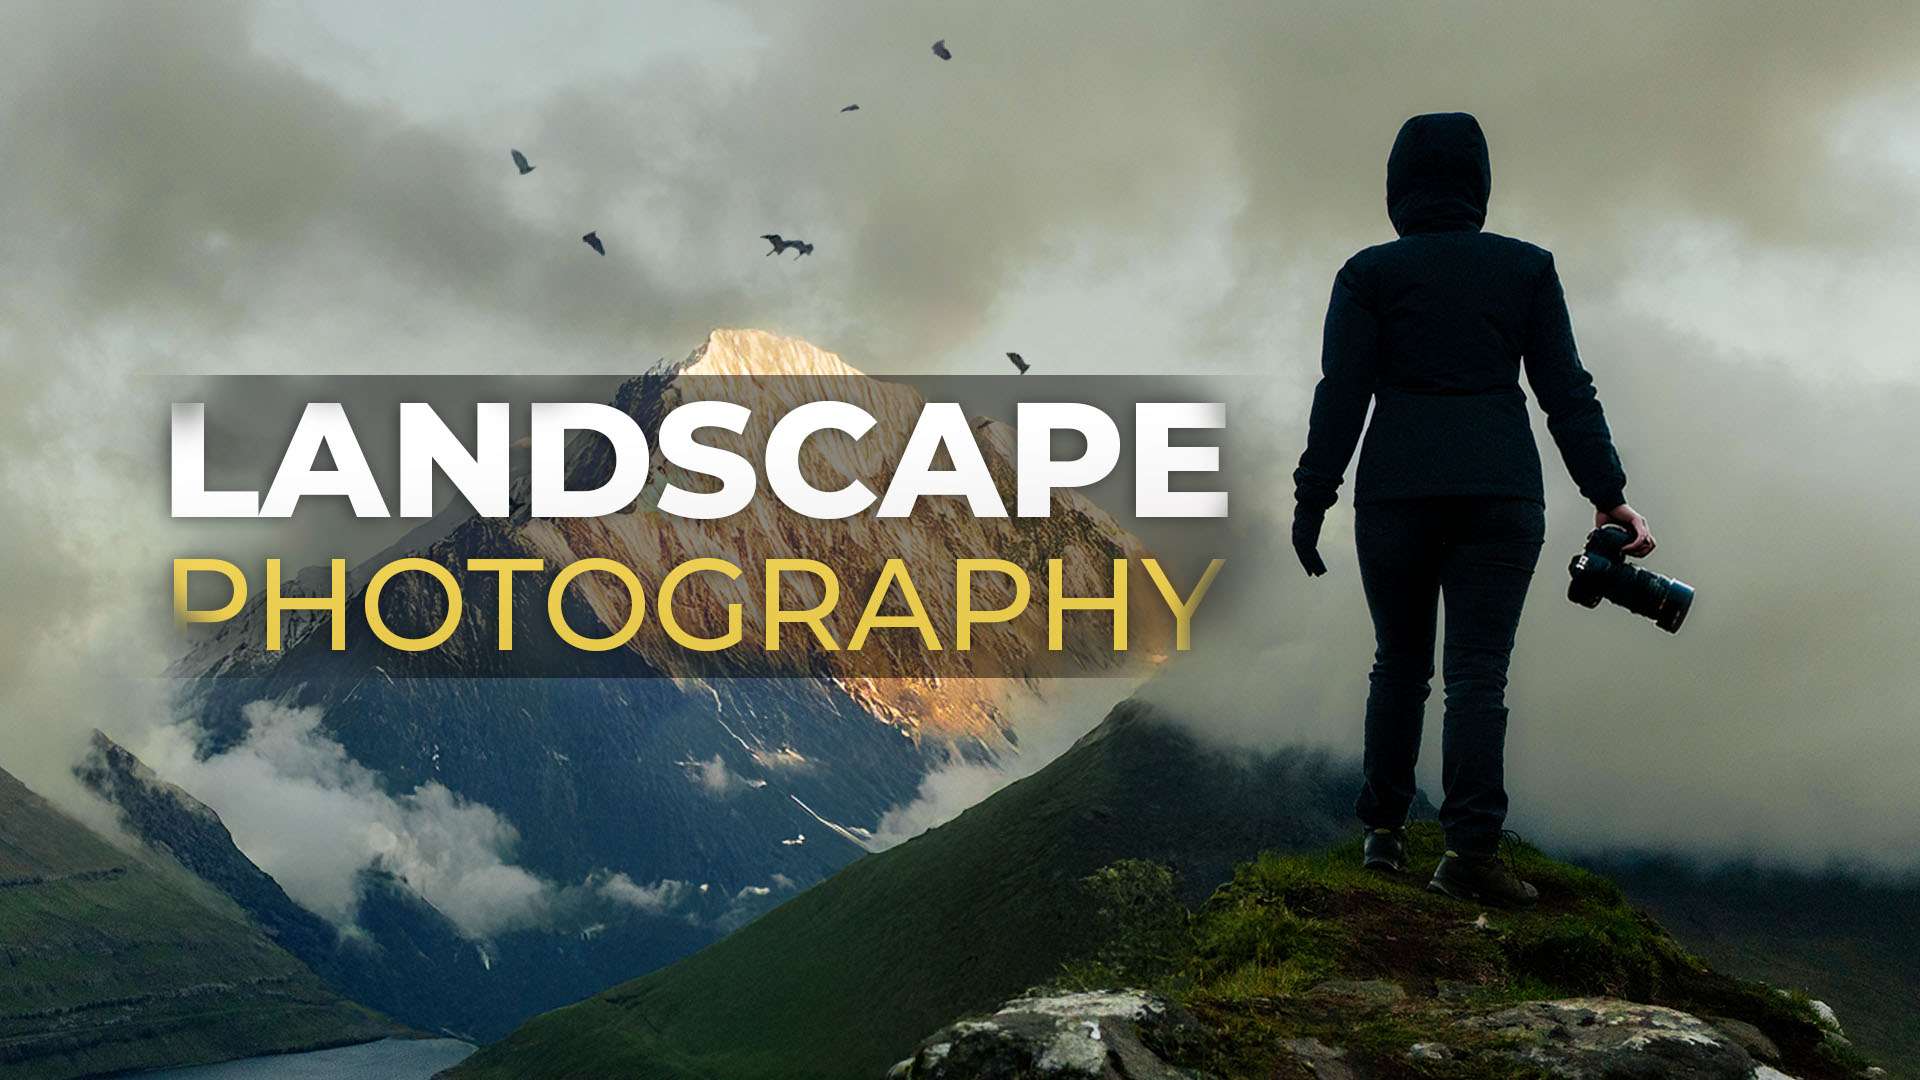
Learn professional landscape photography using your SLR, analogue or smartphone's camera. This beginner course teaches the art and creative skills such as framing, composition, point of interest, visual storytelling, leading lines and more.

By Jordy Vandeput ★ 4.3 (4 reviews) 9 lessons 42m
Save 88% Or take everything Cinecom Complete Bundle 14 courses · 24 video packs · 1 partner deal $197 $1,704.70 total value See the bundle
Trailer Cinecom
What you'll learn
  • Understand how compositions work
  • Use various professional techniques for framing
  • How to break the photography rules
  • Tell stories through a photograph
About this course

This beginner course teaches you how to compose landscape photos: where to place the subject, how much space to leave around it, how to pull the eye to the point of interest, and how to make a single frame tell a story. You can follow it with an SLR, an old film camera or just your phone, because the lessons are about framing and angle, not camera settings.

What you'll learn in this landscape photography course

  • The rule of thirds: switching on the grid in your camera app, aligning the subject and the horizon to the guidelines, and deciding which side of a subject deserves the space.
  • Breathing space and viewing space: why a subject should not touch the edge of the frame, and why a person or vehicle needs more room in front of it.
  • Center composition: when to put the subject in the middle to pull all attention to it, and why the cliche photos are worth taking as a beginner.
  • Point of interest and region of interest: using contrast, vivid colour, faces and soft out-of-focus foreground objects to guide the viewer's eye.
  • Leading lines: shorelines, rivers, bridges, walls and cracks in the ground that lead toward the main subject.
  • Creating depth: using a prominent foreground and a distinct background so people look at a photo for longer, with a bad example included.
  • Visual storytelling: body language, camera angle, a person in the landscape, and deliberately breaking the rules of composition to change the mood of a photo.

How the course is built

There are 9 lessons with a total runtime of about 42 minutes. Each lesson goes through real photos taken in places like Iceland, the Faroe Islands, Norway, Austria and Normandy, with the grid and the key areas drawn over them. Several were taken with a professional camera and several with a smartphone. You see why a photo works, and in some cases how the same scene could be framed differently. The course ends with a conclusion lesson on how to keep practising. No project files are included.

Who this course is for

It is for beginners who want their holiday landscape photos to look more like those of professional photographers. You need no experience, and no expensive gear. It is a course on creative composition, so it does not cover technical camera settings, and editing photos afterwards is not taught.

What you need

A camera that takes pictures: an SLR, an analogue film camera or your phone. No software is needed to follow the lessons.

Lessons
9 lessons 42m 2 free previews
Why landscape photos often disappoint compared with the real view, and how the right techniques fix that. Jordy introduces the course topics: framing, composition, point of interest, leading lines and storytelling, using any camera.
Divide the frame into thirds with your camera's grid and align subjects and horizons to it. Worked through photos from the Faroe Islands and Iceland, including a sea rock, a lava desert horizon and a seagull.
Why a subject should not touch the edge of the frame, and how to leave empty space around it. Includes viewing space in front of a moving truck in Normandy, and an Iceland photo shot with a phone.
When to put the subject in the middle to draw all attention to it. Examples include a person in an Icelandic lava desert, a canoe in Norway, a faded rock in the Faroe Islands and a seagull between cliffs.
How contrast, vivid colour and faces make a point of interest or a larger region of interest. Also covers soft out-of-focus grass or branches in front of the lens that guide the eye to what is sharp behind.
Use shorelines, rivers, a long bridge to Mont-Saint-Michel, walls and cracks in the ground as lines that lead the eye to the subject. Examples include an Icelandic power plant and a zigzag river to a waterfall.
Add a prominent foreground to a distant subject so people explore the photo longer. Examples: a monument behind windswept grass, a Norwegian waterfall, a melting glacier as a bad example, and a Faroe Islands cliff scene.
How a still photo tells a story: a person's body language, a low camera angle, a small house in a wide landscape, a fence in the foreground, and breaking the rules with extra headroom or no viewing space.
Advice for what to do after the course: practise right away with your camera or phone, rewatch each lesson and apply one technique at a time, and give landscape photography time.
Your instructor
Jordy Vandeput

Jordy Vandeput

Founder of Cinecom · 2.75M+ subscribers on YouTube

Jordy Vandeput is a Belgian filmmaker who has taught practical filmmaking to millions through Cinecom. He breaks professional techniques down into clear, repeatable steps you can use on your very next project.

Watch on YouTube
From the course
What students say
★ 4.3 · 4 reviews

_sICFX

Ghanyaa Mohamed

Vermillionish

Stephen Heggs

Couldn’t load more. Try again.
Questions
No. Jordy says you can follow the course with a professional SLR, an old analogue film camera or just your phone, because the lessons are about finding the right angle and creating an interesting composition.
No. The course is made for beginners who are getting started with photography, and it starts with the rule of thirds, including how to switch on the grid in your camera app.
No. It focuses on the creative side: framing, composition, point of interest, leading lines, depth and visual storytelling. Jordy says you don't need to worry about the technical stuff.
There are 9 lessons with a total runtime of about 42 minutes. The longest is Visual Storytelling at about 12 minutes.
You will be able to frame a landscape using the rule of thirds, leave breathing space, choose a center composition, guide the eye with a point of interest and leading lines, add depth with a foreground, and shape the story and mood of a photo.
No. The course does not list any project files. The lessons are walkthroughs of example photos, and Jordy suggests you practise right away with your own camera or phone.
Sign in to your Cinecom account and every lesson streams right away, on any device. You keep access for life, for as long as the course stays in our catalogue.
One time. You pay once and keep lifetime access. There is no recurring subscription.
No. Lessons stream from your account. When a course comes with project files, you download those from the course page in your account.
No. When a course teaches a program, the course page shows which one, and you need your own copy.
Yes, you can sign in on your phone, tablet or computer. Your account is personal, and signing in on several devices at the same time can end your other sessions.
Yes. Paddle, our reseller, runs the checkout, charges any VAT or sales tax and sends you the invoice.
No. Our courses do not come with a certificate.
Watch the free preview lessons and browse the full lesson list before you buy. Every lesson unlocks the moment you enrol, so purchases are final. This never affects your statutory rights if a course is faulty or not as described: email [email protected] and we will help.
Cinecom Complete Bundle

Every course. Every pack. One price.

  • 14 courses
  • 24 video packs
  • 1 partner deal
  • Every future release
$197 Total value: $1,704.70 Save 88%

