3D Line Animation- Apple Event 2021 (After Effects Tutorial)
 Jordy Vandeput
137K views
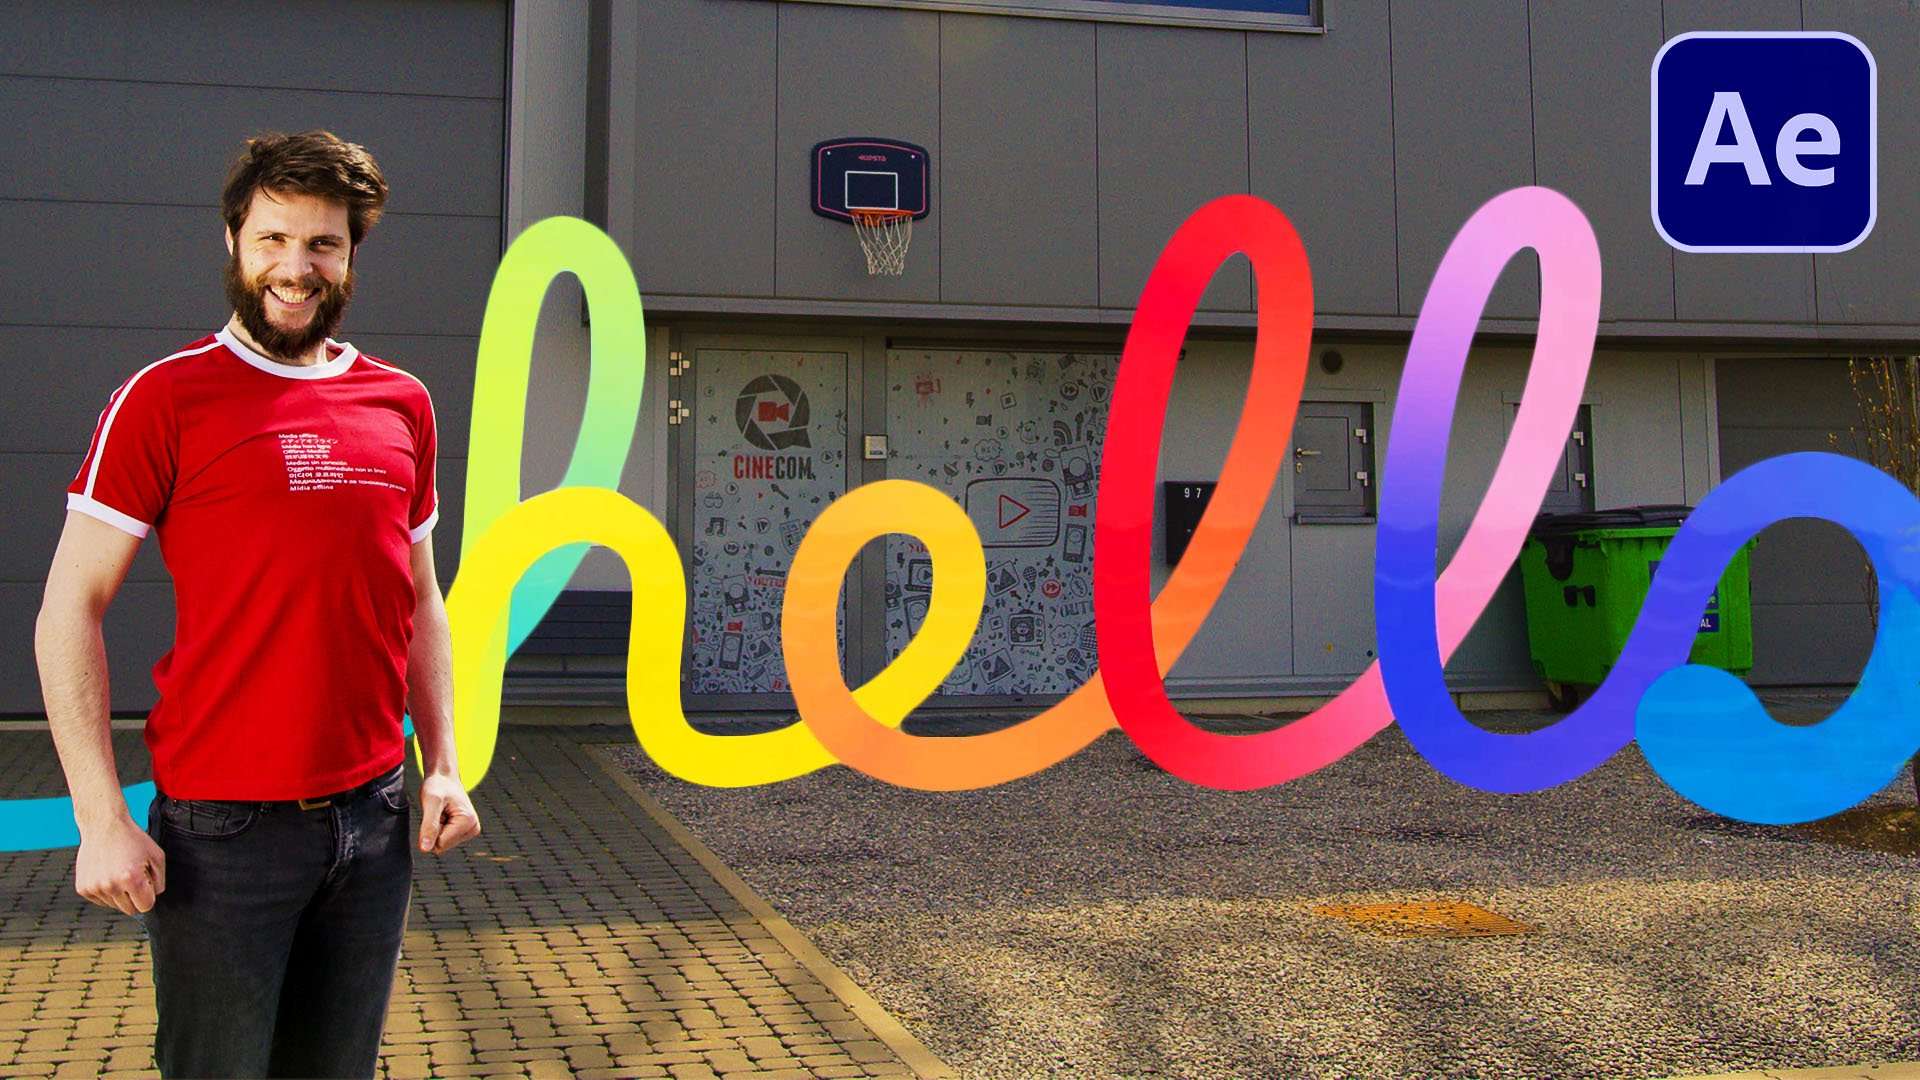
Learn how to animate a colorful 3D line like the Apple Spring Event 2021 intro in this Adobe After Effects tutorial video.
3D Lines
Apple recently did their Spring Event and announced a bunch of cool new products. But as you know we aren't a tech channel so that's obviously not what we'll be talking about. At the beginning of the event they had a cool effect where you could see a line flying across he screen on their campus. Interacting with its environment as it was flying over the water.
Back to the roots
Recently we work a lot in Cinema4D. We're new and love to challenge ourselves to keep on learning and pushing our VFX skills to the next level. So of course we thought of doing this in C4D because this would be the fastest and easiest way to make this.
But as you will see in the video we didn't go through with it, and here's why. Back in the early days we always tried to do everything in Premiere Pro and if it really wasn't possible we did it in After Effects. We try to push the software to it's limits which is quit fun and sometimes frustrating at the same time. And since its been a while we did that we chose to do the effect in After Effects.
When doing the effect we did notice our projects got insanely slow. Since we're emitting multiple thousand and thousand of particles each frame to draw a 3D. So my number one tip for you if you try to recreate this effect is to turn down the Birth Rate by A LOT. Your stroke will look crappy while working but it will make it way faster to work with. And when you want to render just put the Birth Rate back up.
Expression
To be able to properly control the Emitter with a Null object you'll need these expressions right here which we got from Video Copilot.
X Position:

x=thisComp.layer("Null Object").transform.position[0]-thisComp.width/2;
 x/thisComp.width


Y Position:

y=thisComp.layer("Null Object").transform.position[1]-thisComp.height/2;
 y/thisComp.width


Z Position:

z=thisComp.layer("Null Object").transform.position[2];
 z/thisComp.width
Storyblocks
Big thanks to Storyblocks for their support. If you ever need stock footage for your video head over to them! Next to the 4K stock clips, they also have After Effects templates, Premiere Pro presets, overlay effects and so much more. Download unlimited video assets for a single price per year.
Jordy Vandeput
Founder of Cinecom · 2.75M+ subscribers on YouTube
Jordy Vandeput is a Belgian filmmaker who has taught practical filmmaking to millions through Cinecom. He breaks professional techniques down into clear, repeatable steps you can use on your very next project.





6 comments
guys my z position is having problems
I can't get it to follow the path... Think I'm missing something.
I can get it to follow the line now... But it's a square which moves along the path... instead of a nice line
Hi guys I need the project file for this can I get it please
Winderfull thank you copycat 😊👍💯
how to do the z position mine is not working