How to Prune Effect From LOKI (After Effects Tutorial)
 Jordy Vandeput
170K views
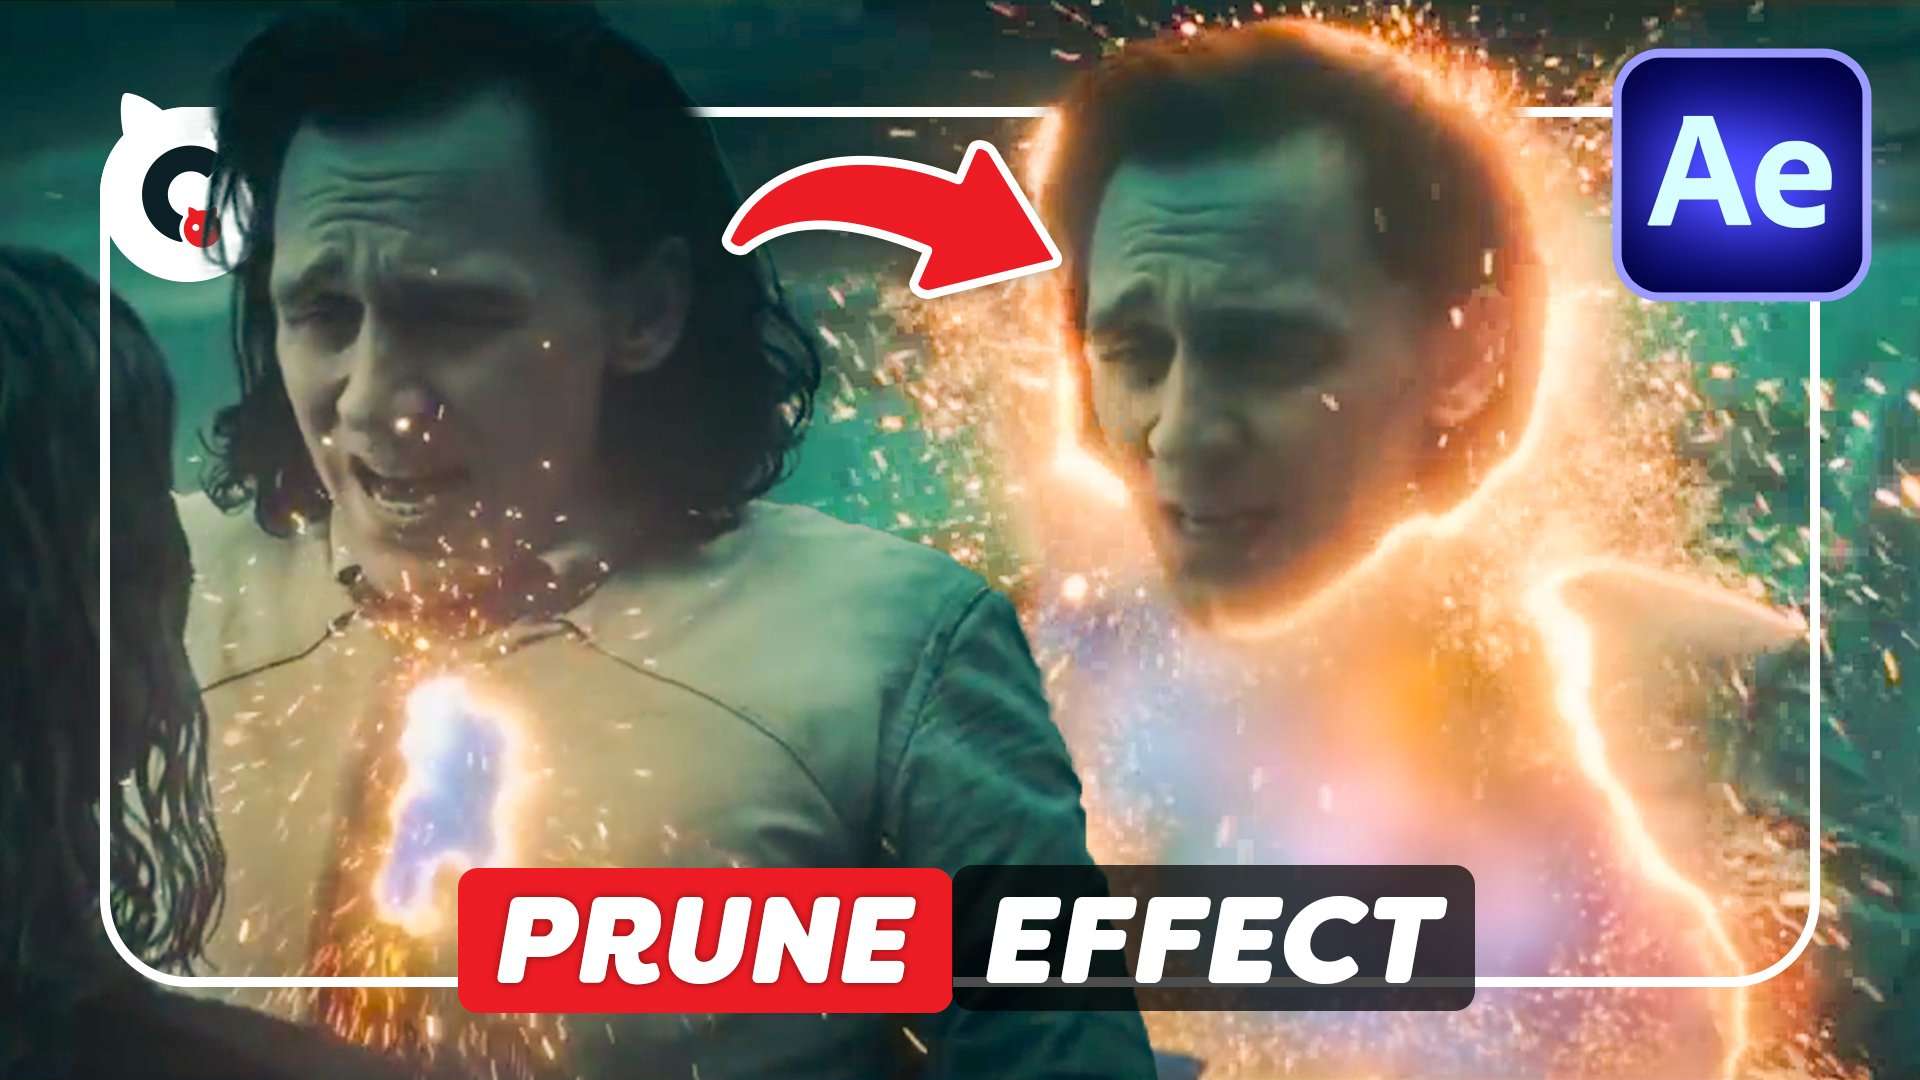
Learn how to recreate Loki's Prune effect in this Adobe After Effects tutorial video.
Loki effects keep coming
Did you ever wanted to visit the end of times? Well now is your chance! This week we spend our time figuring out how to recreate the Prune effect from Loki. It was quite a challenge since this effect exists out of a lot of different small part but hey we did it!
How to make Particles
The hardest challenge we encountered for this project was definitely creating the particles/sparks that fly away. Good particles mainly exist out of two things. The first one is having a realistic look, size, color and amount of glow needs to be on point. The second and hardest thing is the physics. Particles fly and float around in the air when getting shot. And its exactly this motion you need to get right.
There are 3 ways you can create these which each there pros and cons.
Stock Clips
The first one we'll be taking a look at is stock clips. On websites like Storyblocks our sponsor for this video. Here you can find a ton of different particle stock clips to use. These you can then simply blend into your shot. Just make sure not to use the same one too much. People recognize patterns fast and will see its the same set of particles pasted all over the effect.

After Effects
The second method is creating them yourself in After Effects like we did in our video. You can use the standard particle plugins in After Effects but if you can use the Red Giant Particular. This plugin is made for particle manipulation. You have forces that you can use to push them a certain way and thousand of settings to control it. However After Effects will slow down quickly when you are working with a few hundreds of particles.
Cinema4D
The last way is probably the most complex one but you'll definitely will have better results. In programs like this you can add all the physics you want. You even have plugins like X particles which are specifically made to manipulate thousands of particles to move the way you want. Next to this you can also let them interact with the body so they bounce off, creating a more realistic effect.
For the best results on a quick turn around time I believe its best to mix and match. You can use After Effects to create nice global particles. Use stock footage for more specific sparks to add variety. And Cinema4D to add some small details where you can see sparks bouncing off the talents body.
Jordy Vandeput
Founder of Cinecom · 2.75M+ subscribers on YouTube
Jordy Vandeput is a Belgian filmmaker who has taught practical filmmaking to millions through Cinecom. He breaks professional techniques down into clear, repeatable steps you can use on your very next project.




1 comment
Hey Guys, LOVE LOVE LOVE your videos. I'm just starting out with video editing and so I've got lots to learn....and practice. I had a strange request (and completely understand if its something you don't want to do) is there any way you could provide the footage you shoot so I could practice along with your tutorials?? Wouldn't even mind paying a subscription for the privilege. Thanks again for all the great videos!!!!