epic music video effects from taylor swift (after effects)
 Jordy Vandeput
179K views
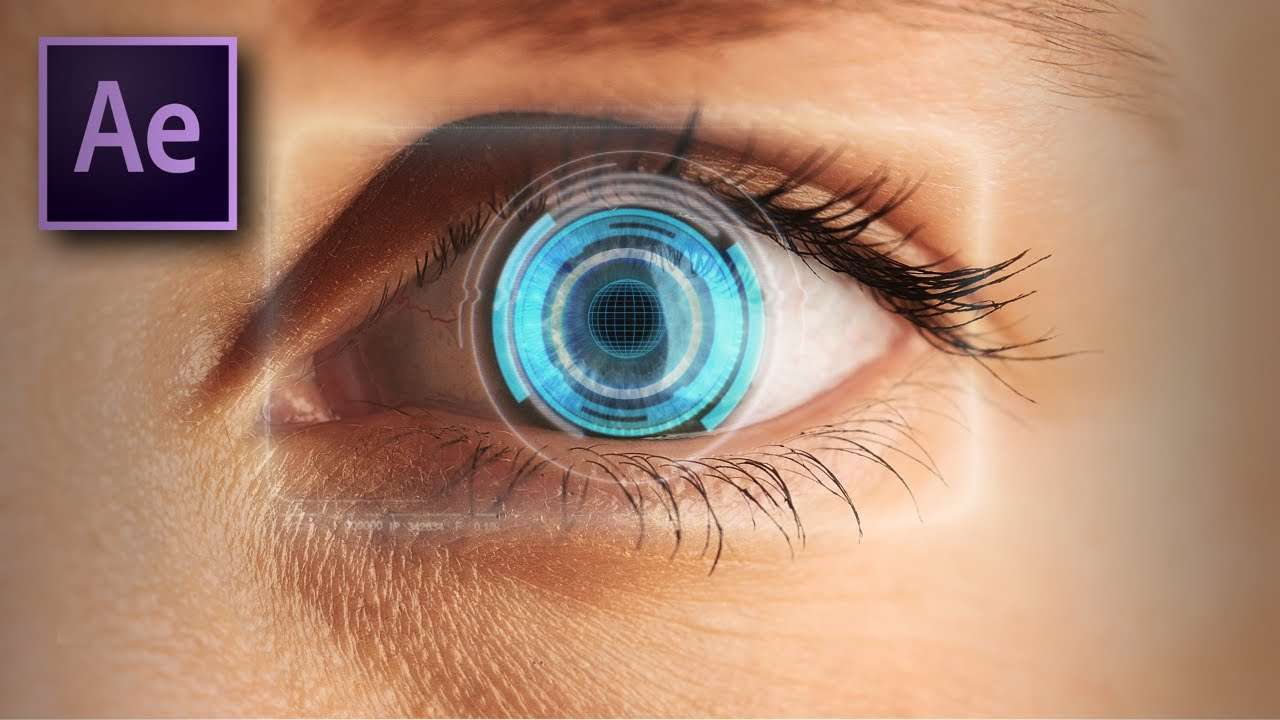
Recreate the Sci-Fi effects from Music Video Ready For It by Taylor Swift. How to track a radar on someone's eye and an RGB glitch distortion.
Now that Halloween is past, we can focus on some less scary content. And this time we are tackling the new music video from Taylor Swift, ready for it. This music video is packed with Special effects like a science-fiction movie. So we found it perfect to recreate some effects from the video in our Copy Cat tutorial. We analysed the video and choose the most frequent effects to recreate, which are the glitch distortion and the Sci-fi radar on Taylor's eye. In this tutorial we explain how you can use tracking for the eyes and create a simple way to achieve the glitch effect.
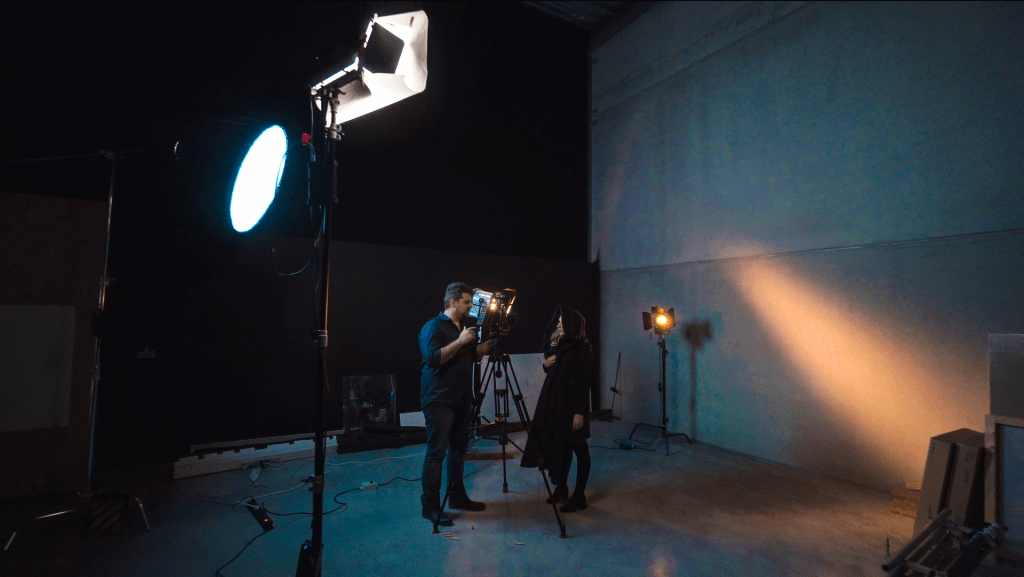
For this video we used our new intern, Ellen. You probably saw her already in the two horror specials. She normally does another job, but we thought she would be a better Taylor Swift then Jordy or me. So with her all Taylored up, we more or less recreated the lighting setup and the scenery from the music video. In the intro, which we recreated, they use a simple two point lighting on Taylor and use a third light to cast a beam on the background. There are also a lot of other different attributes present in the original clip, but we kept it to the minimum.
As you can see in the picture and in the video, the overall look is quite cold. So instead of doing an extensive color grading in post production. We used daylight lights for lighting our Taylor Swift and tungsten lights for the beam in the background. This will create this cold look and at the same time a beautiful teal and orange.
RocketStock Inferface
Featuring over 400 video elements, the Interface pack is the definitive Heads Up Display (HUD) pack. Whether enhancing futuristic videos, adding impact to corporate projects or beyond, this collection makes it easy to build your ideal HUD. With Interface, you have total creative control. Large resolution files make for seamless scalability, while in, out, and loop options allow for customized timing.
Jordy Vandeput
Founder of Cinecom · 2.75M+ subscribers on YouTube
Jordy Vandeput is a Belgian filmmaker who has taught practical filmmaking to millions through Cinecom. He breaks professional techniques down into clear, repeatable steps you can use on your very next project.







6 comments
why i am not able to import eye hud its saying "the source compression type is not supported"
Can u plz make a video on how to shoot and edit a Dance video like a pro
Video seems to no longer be available
Thanks for letting us know! I've updated the video.
My only comment... How. Tried to follow and barely managed. Great job!
Magnificent! I'm not even in the category of novice so a lot of this stuff went over my head but, before I saw this I thought that those FX were basically impossible for mere mortals like me to make.