The Complete Color Grading Tutorial for premiere pro
 Jordy Vandeput
1.5M views
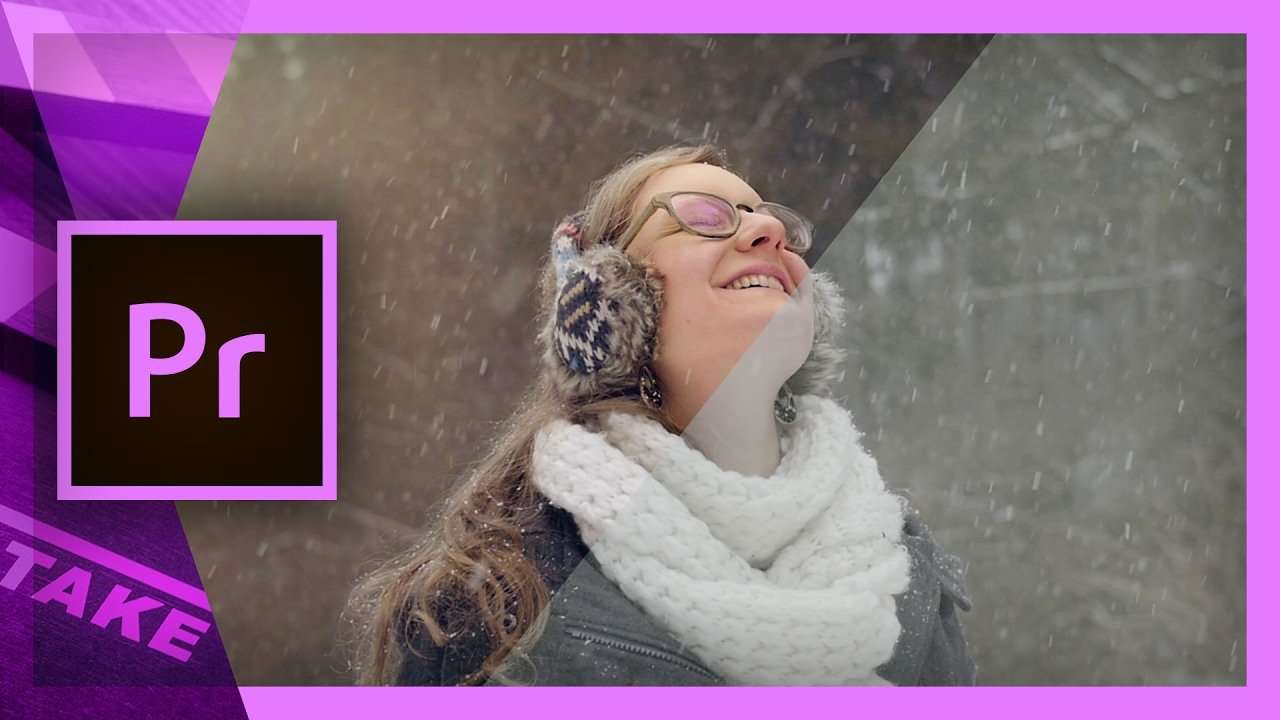
From basic color corrections to color theory and advanced color grading. Learn how to get that cinematic film look in this complete tutorial.
Color grading or color correction isn't an easy process to learn. Apart from the technical difficulties, there are many creative choices that have to fit a certain color theory. In this tutorial video we show you the complete process for achieving that cinematic film look you'll see in Hollywood blockbusters. In this tutorial video we'll be using Adobe Premiere Pro Lumetri.
This tutorial covers the grading process in 3 stages:
- First we start by setting the correct exposure and contract. This process is considered as color correction. You can follow this link to learn the difference between color correction and color grading.
- Next the color grading tasks come in place. We push specific colors in the shadows, mid-tones and highlights to achieve a look & feel.
- Finally extra elements are added like flares or color shapes. We also mask specific areas in the shot, such as skin tones, to make them pop and draw attention to it.
Lumetri
Adobe Premiere Pro now has a powerful color correction tool named Lumetri. These tools where integraded from Adobe Speedgrade, which hasn't been updated since. Lumetri isn't the most advanced tool, but it definately has all the controls we need to perform color grading tasks for smaller project.
GH4/GH5 V-LOG
You might have heard about log camera profiles? We're shooting with the GH4 that is able to capture with it's V-LOG profile. It's basically a very flat picture style that doesn't look good. But it contains a lot of information, making it great for color grading. Log profiles utilize the camera sensor in the best way, giving as much dynamic range as possible. Many DSLR cameras have this ability. The Sony series have their slog2 and slog3 and Panasonic their V-LOG. Canon cameras on the other hand don't have this build it, but there're third party picture styles like CineStyle which do a great job!
Color Theory
This is the theory of mixing different colors together to create a specific look or mood. In this tutorial I talk about color contrast, which refers to complementary colors. But there're many other techniques such as monochromatic, triangle colors, compounds and more. A great tool to help you create certain schemes is Adobe Color.
Film Look
As mentioned in the tutorial, there's contrast and film contrast. Same goes for the exposure of your shot. It comes down to making sure you don't have any underexposed or overexposed areas. This also means you have to be careful in your color grading/correction. When adding more contrast, it's important that you preserve the details in your shadows and highlights and don't over/underexpose anything. This is probably the most important part of a cinematic film look.
Advanced Color Grading
What really makes your shots look epic is by working on specific areas. It's pretty time consuming, but it definitely takes your video to the next level. By creating masks in Premiere Pro and tracking those you can add contrast, temperature, tint and more to those places. This makes your subject pop out and draw attention to it. Other possible techniques are adding warm flares or cold vignettes in your shots. These techniques work the same and are shown in the tutorial video.
Premium Beat
This video was supported by Premium Beat, a curated royalty free music website that provides exclusive, high-quality tracks and sound effects. Which can used in new and traditional media projects, including videos, films, apps, games, and television programming.
Jordy Vandeput
Founder of Cinecom · 2.75M+ subscribers on YouTube
Jordy Vandeput is a Belgian filmmaker who has taught practical filmmaking to millions through Cinecom. He breaks professional techniques down into clear, repeatable steps you can use on your very next project.



12 comments
am impressed
This is the reason I love you guys so much! Awesome content
Hi Jordy, I'm staying creative over here. I was requesting if you can do a copycat Friday video on the effects of PlayBoy Carti's Magnolia video. Thank you so much for your tutorials.
love the tutorials
You make filmmaking fun, thank you.
Zero to Hero.. u r making it too simple even to the beginner. Thanks again
Excellent info Jordy! Awesome transformation.
Great tutorial! I really enjoyed it. Can't wIt to see your other videos. Thank you for taking the time to make the videos you make.
All the way from Kenya ?? Thanks Jordy, you make filmmaking awesome and fun, enjoying the tutorials
Hi Jordy, I am BhaRaT from New Delhi, India. I watched your color grading tutorial & i want to say thanks for sharing these techniques. You Narration is very Good & you explained it very smoothly & very clearly all the steps that are involved. I appreciate your work. Thanx Jordy.
great job man !