4 Premiere Built-In Transitions That Replace Keyframes
Premiere built-in transitions can do the work of a stack of keyframes. I show four builds: a text reveal with Motion Camera, a Spin Motion logo animation, a TV turn on effect with TV Power, and lower thirds made from Fold Motion and Spring Motion.
Premiere built-in transitions now do the work that used to take a stack of keyframes. Drag Motion Camera onto text, Spin Motion between logos, TV Power onto a clip, and Fold Motion plus Spring Motion onto a lower third. No plugin needed. Here are all four builds, with the settings I used.
One year ago, a transition in Premiere meant throwing effects on an adjustment layer, adding random keyframes and hoping for the best. That has changed. These four builds lean toward motion graphics, so text and logos get most of the attention.
What are Premiere built-in transitions?
They are the effects and transitions Adobe added after buying Film Impact. Adobe announced more than 90 of them in September 2025, included in your plan with no separate plug-in. Huge thanks to Film Impact for these.
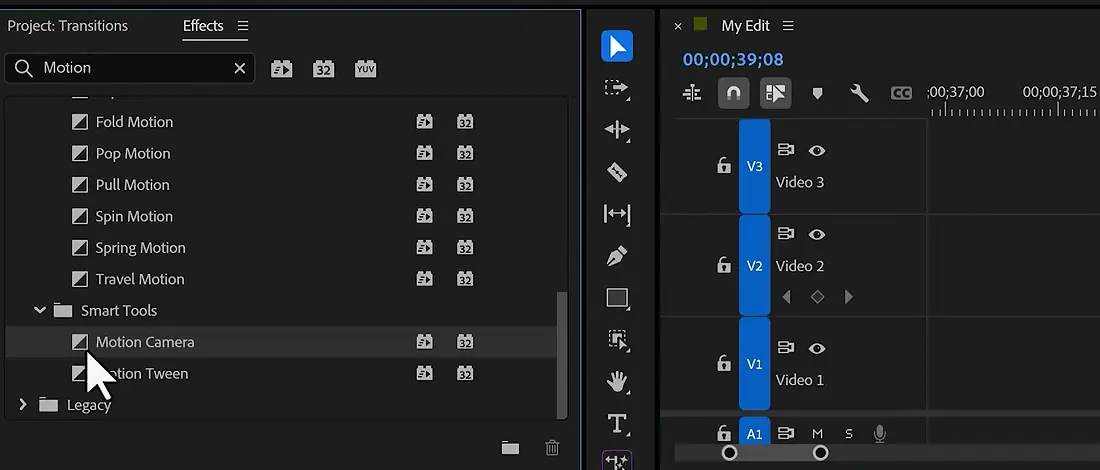
You find them all in the Effects panel. In my project the motion transitions sit under Video Transitions > Animation, the distortion ones under Video Transitions > Grunge & Distort, and Motion Camera under Smart Tools. Typing the name in the search box is faster than clicking through folders.
The basic move is the same every time:
- Search for the transition in the Effects panel.
- Drag it onto the edge of a clip, or between two clips.
- Play it back, then select it and adjust it in Effect Controls if you want.
Animate text with transitions: Motion Camera
A text animation like this used to mean a long list of steps. Now it's one drag per layer.
Drag Motion Camera onto both text layers
Start with two text layers in the timeline, with no animations and no effects on them, then search for Motion Camera and drag it to the start edge of both layers. Play it back. You'll see the full animation at 0:55 in the video above.
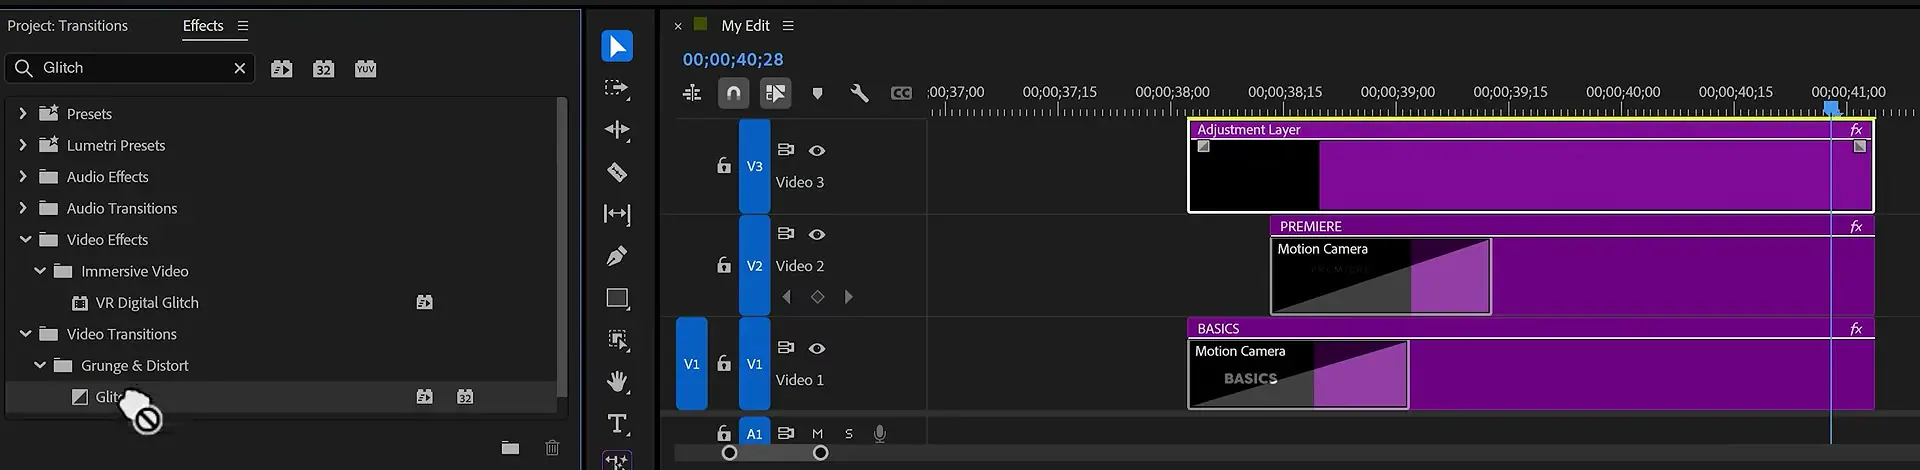
Add Camera Shake and Glitch on an adjustment layer
This next part gives the animation more life. In the Project panel, click the New Item button, choose Adjustment Layer, then drag it on top of your text and make sure it's the same length as your layers. An adjustment layer is an empty clip that passes its effects down to everything below it.
Now drag Camera Shake onto the adjustment layer, and drag the Glitch transition to the end of it. That's all. Both work without touching a single setting.
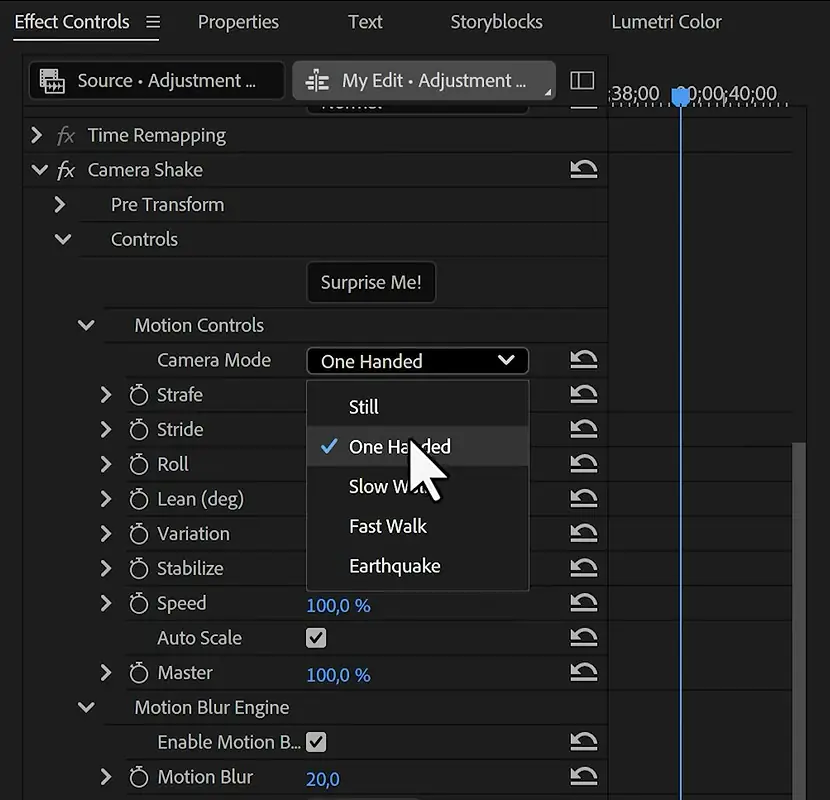
I still strongly recommend opening those settings, because Camera Shake has a Camera Mode menu in Effect Controls with Still, One Handed, Slow Walk, Fast Walk and Earthquake, plus many more controls below it.
Turn Spin Motion into a logo animation
Drag Spin Motion between two normal clips and it looks like Microsoft PowerPoint. I mean it. That doesn't make it useless, though, because most editors forget that these transitions also work on logos and text.
Put your logos one after the other on a track and drag Spin Motion between them. In the video I chain four images with three Spin Motion transitions, and the result at 2:05 looks like an animation you used to build step by step with keyframes. Pop Motion works the same way if you want a different feel.
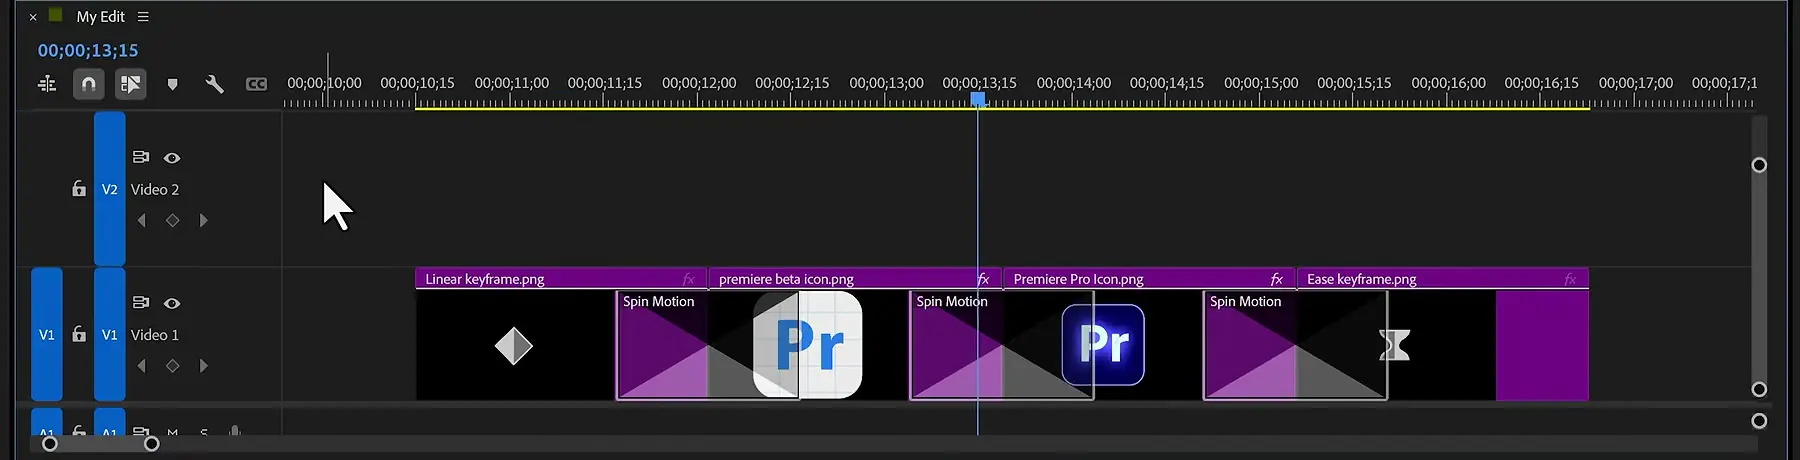
You can still build this by hand, and my tutorial on smooth logo animations in Premiere Pro shows that route. One warning either way: most editors obsess over the visuals and completely forget about sound. Give the animation a sound of its own.
Build a TV turn on effect with TV Power
TV Power makes your footage look like an old TV switching on. It needs a little preparation, because the shot should look like it's playing on that TV.
Make the footage look old
Place a static overlay above your clip. Select it, open Effect Controls and set Blend Mode to Screen. With the overlay still selected, go to the Lumetri Color panel, lower the exposure a lot and raise the contrast, which blends it in even more (I ended up at -2.6 exposure and 96.9 contrast). Then select your footage and pull the saturation down, since we want black and white.
A quick heads-up for later versions. Adobe is retiring the Lumetri Color panel starting with Premiere 27.0, while the effect stays and moves to the Properties panel, and I explain what changes in the Lumetri Color panel removal tutorial.
Add TV Power and copy it
Drag TV Power to the beginning and the end of both clips. That already looks good. For a different look, select a transition, open Effect Controls and hit Surprise Me! to randomize it.
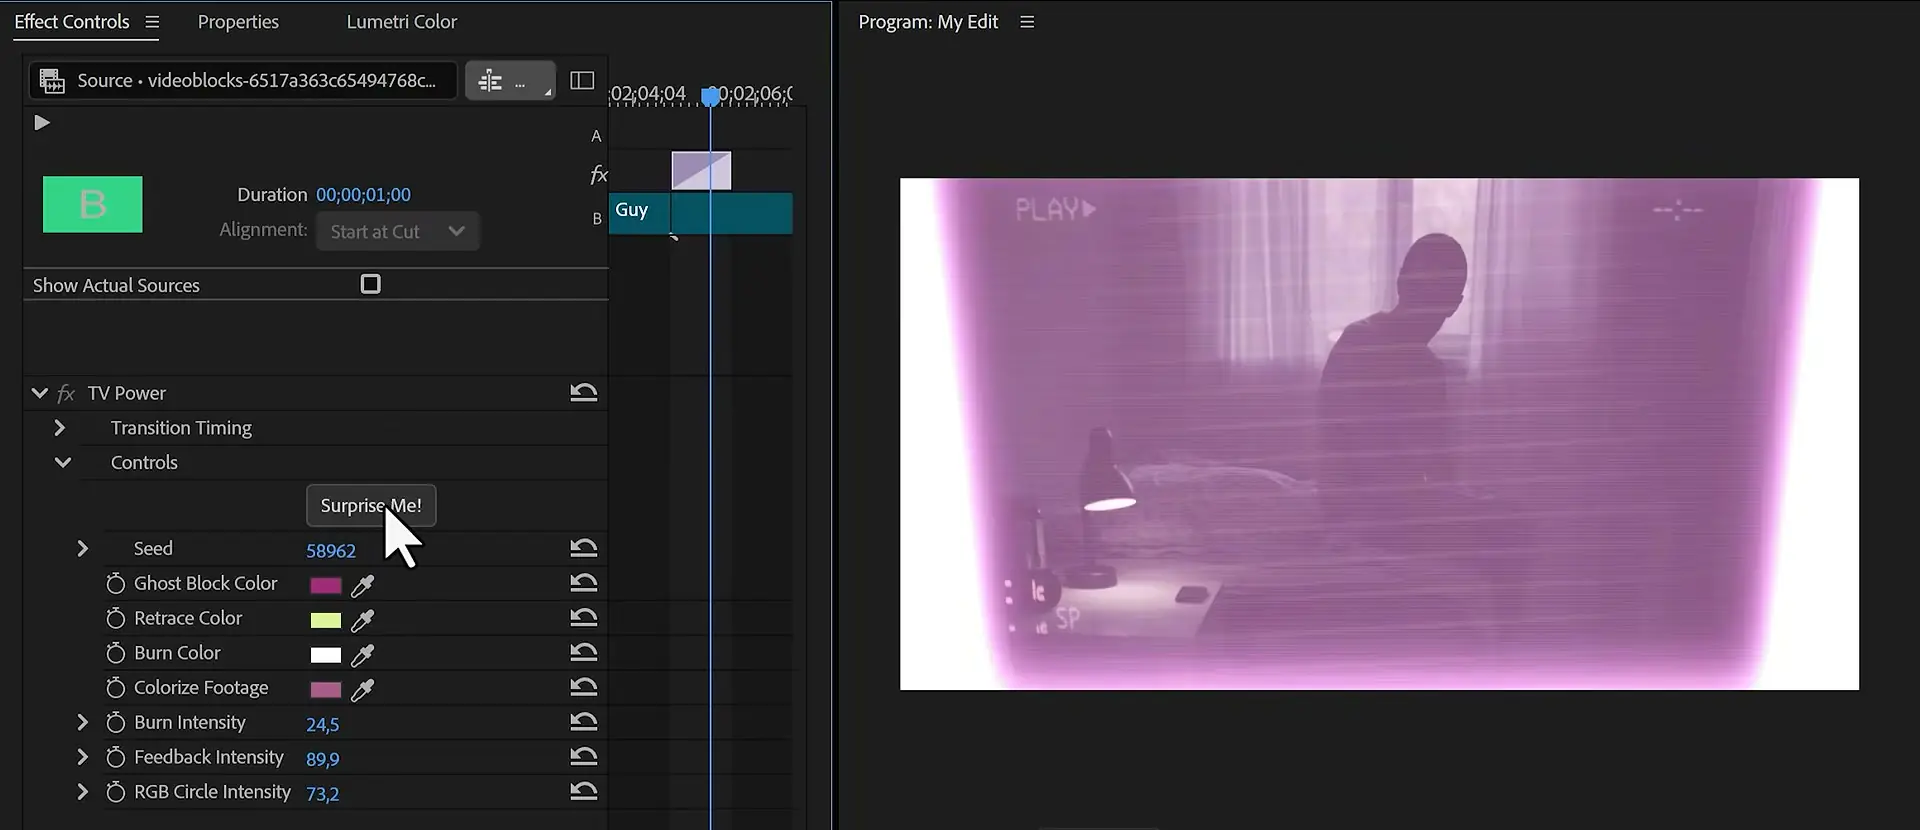
Found one you like? Select that transition, press Ctrl + C to copy it, and paste it onto the others so they all match.
Put it inside a green screen TV
This step is very important. Select both clips, right-click and choose Nest, then give it a name like TV Media. A nest packs your clips into one sequence, so they behave like a single clip from here on.
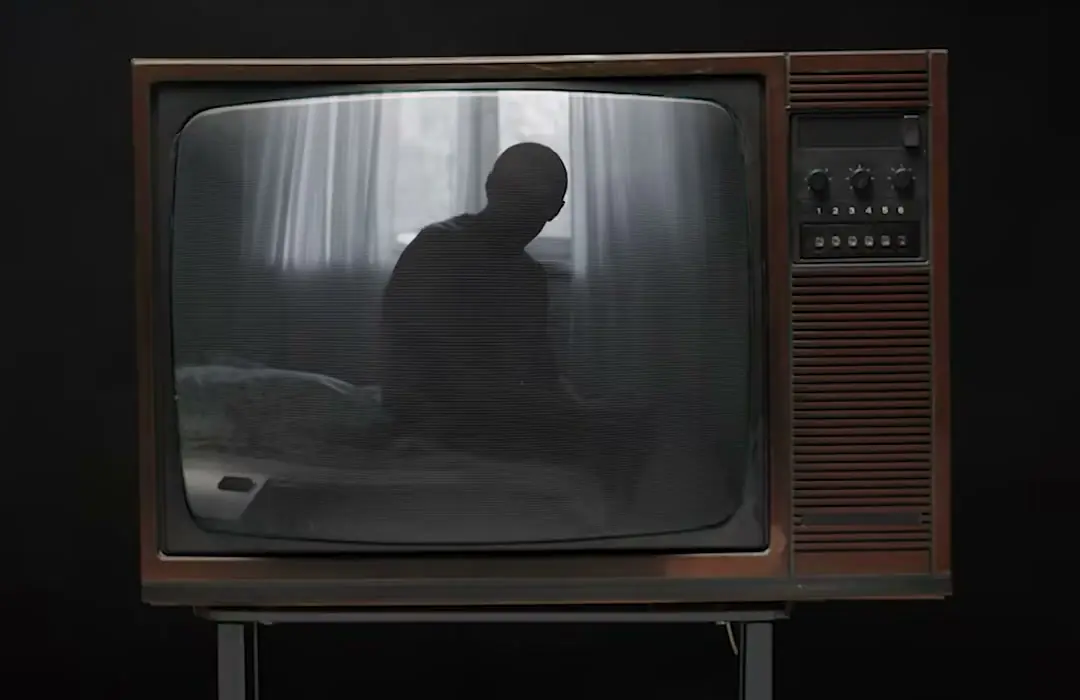
Place a clip of an old TV with a green screen on top of the nested sequence, then find Ultra Key in the Effects panel and drag it onto that TV clip. In Effect Controls, click the color picker next to Key Color, then click the green in the Program monitor. The green disappears and your video shows through.
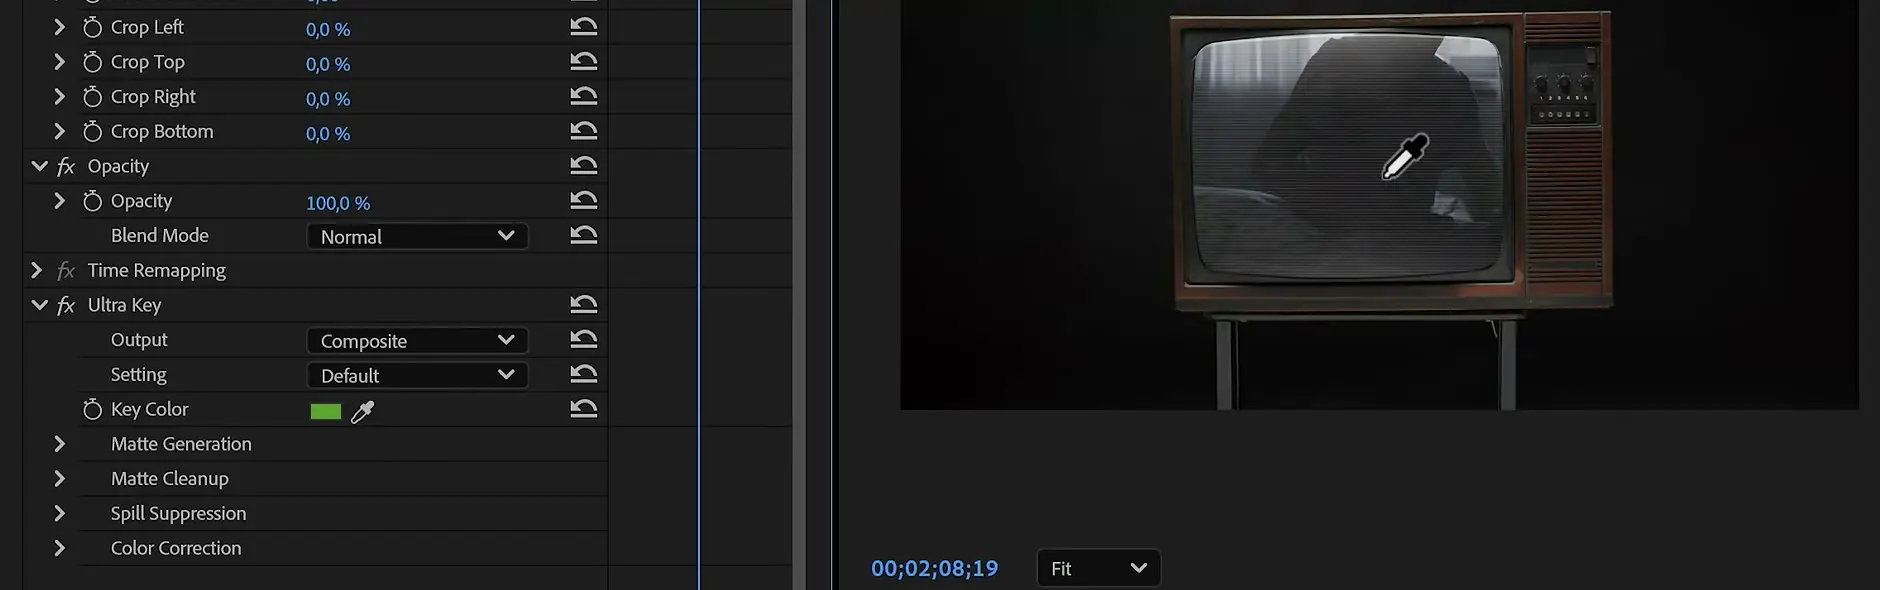
Select the nested sequence, click Motion in Effect Controls and adjust Scale and Position until the video fits the screen of the TV in your shot. To finish, drag Lens Distortion onto it and raise Curvature so the image bends like the glass of the TV. I went to 47, then nudged Scale up to about 55.
One thing to check. Adobe's list of effect changes in Premiere 26.0 marks Lens Distortion as removed, yet it was still in my Effects panel when we filmed this. If yours doesn't have it, skip this step. You lose the curve, and the rest of the effect still works.
Create lower thirds with transitions instead of keyframes
Imagine this clip is part of a music video and you have to credit the artist. A lower third is the best way to do that, and you don't need a complex animation for it.
Set up two text layers
Enable the safe margins first. Safety first. Grab the text tool, click in the Program monitor and type your title (mine is Dark Mansion). Style it in the Properties panel however you like.
Back in the timeline, hold Alt and drag the text layer to duplicate it. Select the copy, drag it down a bit in the Program monitor, then double-click it and type the artist name, which now sits right under the title. A heavier font works well here against a thin title. Reposition and rescale both layers before you add any animation. Keeping them separate is what gives you control over each transition.
Add Fold Motion, Spring Motion and Liquid Distortion
Drag Fold Motion to the edge of the title layer and Spring Motion to the edge of the artist name. That already beats a lot of the lower third presets you can buy online.
Now offset the artist name by trimming its start, so it arrives a moment later. I moved it 14 frames. Your viewers then don't have to read two text layers at the same time.
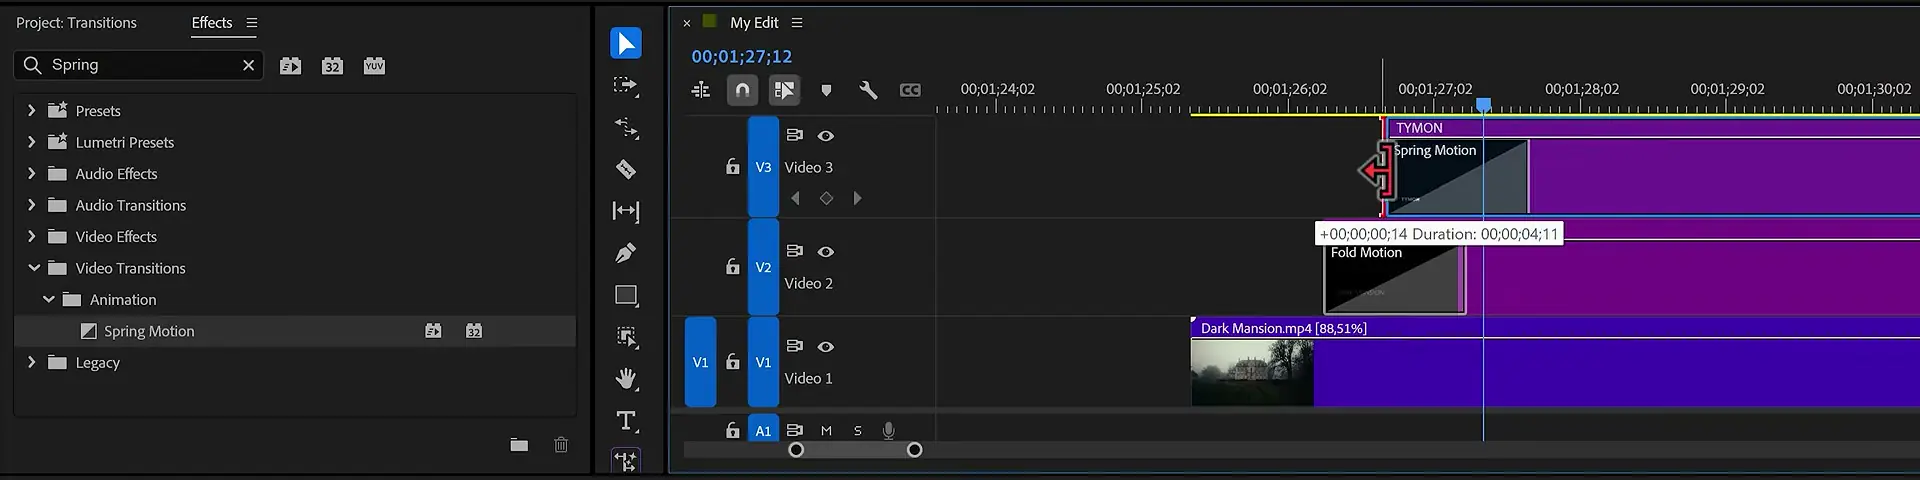
This shot is dark, so I finish with Liquid Distortion on the end of both layers for a moody fade out. If you want a design that goes further than two lines of text, see how to make advanced lower thirds in Premiere.
When these transitions are not enough
These things aren't mind-blowing next to what you can do in DaVinci Resolve for motion graphics nowadays. For Premiere users like us, though, it's a big step, because Premiere was a very different program a year ago.
They also won't replace every keyframe. A drag gets you a good animation quickly, but custom timing and movement still take manual work. My advanced Premiere Pro course covers those 2D animation skills when you're ready for them.
Pick one of these Premiere built-in transitions and put it on a title in your next edit. And if you want more ready-made options for the cuts between your clips, have a look at TRANS, my pack of 30 Premiere Pro transitions.

Jordy Vandeput
Founder of Cinecom · 2.75M+ subscribers on YouTube
Jordy Vandeput is a Belgian filmmaker who has taught practical filmmaking to millions through Cinecom. He breaks professional techniques down into clear, repeatable steps you can use on your very next project.
Related tutorials
 25K
6:11
How to Make a Superhero Landing in Premiere Pro
Learn how to make a superhero landing in Premiere Pro without After Effects. Cut yourself out with the Object Mask tool, drop in with the Transform effect, speed up the fall with a speed ramp and hit the ground with an earthquake from the Camera Shake effect.
 32K
4:30
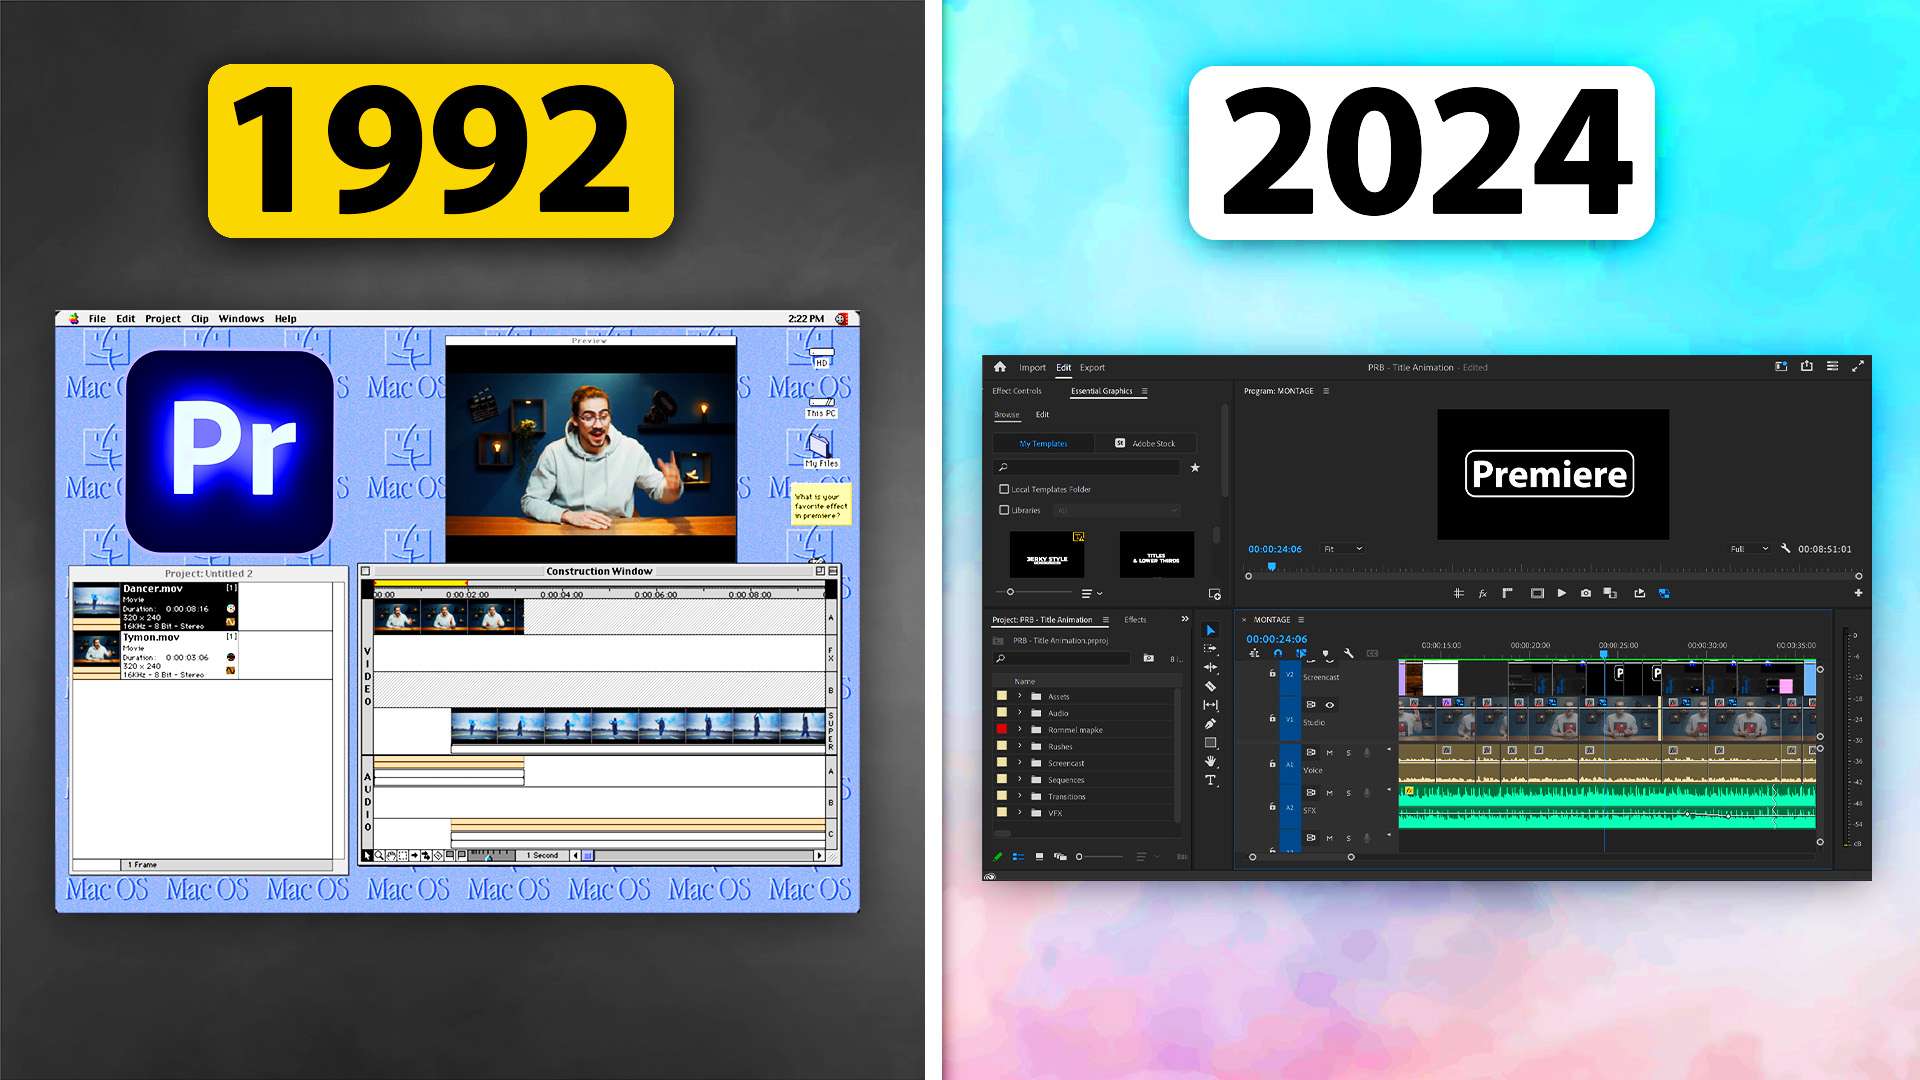
I Tried Editing In The FIRST PREMIERE EVER!
Learn 10 mind-blowing and interesting facts and a little bit of history about Premiere in this Adobe Premiere video!
 110K
8:43
How To Make STUNNING Logo To Text Animation (Premiere Pro Tutorial)
Learn how to make amazing and professional logo to text animation in this Adobe Premiere Pro Tutorial video!


0 comments